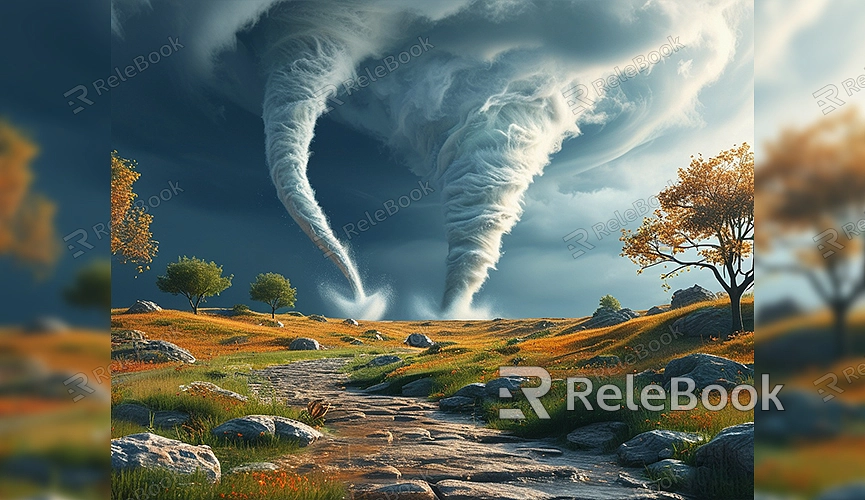
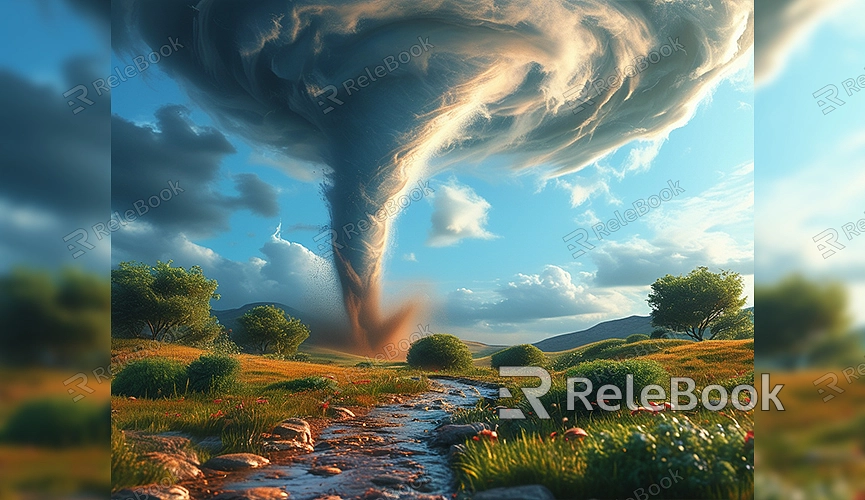
Blender how to make a 3d tornado model
Blender is a powerful 3D modeling software that allows you to easily create various complex 3D models, including natural phenomena like tornadoes. Creating a realistic 3D tornado model requires not only a good understanding of Blender but also some specialized techniques. This article will guide you step-by-step on how to create a highly realistic 3D tornado model in Blender.
Preparation
Before you start creating a 3D tornado model, ensure that your Blender is updated to the latest version to take advantage of the newest features and plugins. After opening Blender, start by selecting a new project and deleting the default cube so you can create the tornado model from scratch.
Creating the Base Shape
To create the basic shape of the tornado, you first need a spiral base model. This can be done using Blender’s “Curve” tool. From the top menu, select “Add,” then “Curve,” and choose “Bezier Curve.” Stretch the Bezier curve and adjust its shape through rotation and scaling, making it gradually taper to simulate the cone-shaped structure of a tornado.
Next, you need to add a spiral effect to the Bezier curve. You can do this by adding a “Screw Modifier” in the “Modifiers” panel. This will make the curve spiral upwards along the Z-axis, forming the basic shape of the tornado. Adjust the spiral’s density and height to make it look more like a real tornado.
Applying Materials and Textures
Once you have the basic shape, the next step is to apply materials and textures to the tornado. Tornadoes are typically composed of dust and debris, so you’ll want to choose a material that simulates this effect. You can use Blender’s built-in “Volume Shader” to add smoke and dust effects to the tornado.
In the “Materials” panel, select your tornado object and add a new material. Set the material type to “Volume Scatter” or “Volume Absorption,” then adjust the density, scattering color, and opacity to simulate the look of smoke and dust. You can also add a “Noise Texture” to enhance the randomness of the material, making it look more natural.
To make the tornado even more realistic, you might want to use high-quality 3D textures and HDRI to enhance the visual effects. If you need high-quality 3D textures and HDRI while creating models and virtual scenes, you can download them for free from [Relebook](https://textures.relebook.com/). These resources can significantly improve the realism and visual impact of your work.
Animation and Simulation
Since a tornado is a dynamic natural phenomenon, animation and simulation are crucial parts of creating a 3D tornado model. Blender’s particle system and force fields are perfect for simulating the rotational effect and internal motion of a tornado.
First, add a particle system to your tornado object. You can set the number of particles, their speed, and lifespan in the “Particle Properties” panel. Then, add a “Vortex” force field to the scene, adjust its strength and range, so the particles spiral upwards along the curve, creating the tornado’s spinning effect.
You can also add a “Wind” force field to simulate the strong wind effects of a tornado, making the particles more chaotic and irregular. The combination of these force fields will help you create a more realistic tornado model, especially during animation.
Rendering and Post-Processing
After completing the modeling and animation, the final step is rendering and post-processing. In the “Render Properties” panel, choose the appropriate rendering engine, such as Cycles or Eevee. Cycles offers higher rendering quality, while Eevee renders faster, making it suitable for real-time previews and quick outputs.
Before rendering, ensure that the lighting and environment of your scene are set up correctly. If you want the tornado model to blend seamlessly with its surroundings, you can use HDRI environment maps to add realistic lighting and reflection effects to the scene. If you need detailed 3D models and additional scene elements, you can download them from [Relebook](https://3dmodels.relebook.com/), which offers a wide range of premium 3D resources.
After rendering, you can use Blender’s compositor for post-processing. Adding color correction, blur, and other effects can further enhance the visual impact of the tornado, making it look even more lifelike.
By following these steps, you can create a highly realistic 3D tornado model in Blender. From creating the base shape to applying materials and textures, to animation and rendering, every step is crucial. Once you master these techniques, you can apply them flexibly in your projects and create more stunning works. If you need high-quality 3D textures and HDRI while creating models and virtual scenes, you can download them for free from [Relebook](https://textures.relebook.com/); if you need detailed 3D models, you can also download them from [Relebook](https://3dmodels.relebook.com/), which offers a wide range of premium 3D resources. I hope this article helps you create better 3D tornado models in Blender and enrich your creative experience.
